Microsoft Access Tips to Explore and Use the Database Effectively
Here are the Microsoft Acces Tips. While you don’t need to be a programmer or have coding skills to use Microsoft Access, there are some vital skills you can master to ensure you use the database software to your advantage. Creating and maintaining an Access database can be tricky if not difficult, and having a thorough knowledge of critical tips and important steps can help boost your Access productivity and overall performance.
These important tips and tricks in MS Access give you the ability and the expertise to use the popular database to meet your company’s objectives and enhance individual and business performance while ensuring client satisfaction. The leading tips of MS Access to ensure efficient use of the database are listed below:
Microsoft Access Tips
To access data
You can get your existing data available in Word or Excel format into the Access table easily using copy and paste. Copy the data in the source document and open the Access database to paste it into a new table. When you copy data from Word, Access asks you for a table name, and when you transfer data from Excel, Access uses the sheet name for the new table. It’s advisable to create the table first to copy and paste raw information that is not a table from Word.
To create a task
When you want to export data from Access, you can create an Outlook task that makes the job simple. Just select the table or data in Access you wish to export, and click the External Data tab and Excel from the Export Group. Choose Export Data with Formatting and Layout option, and select Save Export steps and Create Outlook Task option before clicking Save Export button. Set a recurrence or a reminder when Outlook opens the new Task Window, and click Save & Close to find your task in the Outlook list.
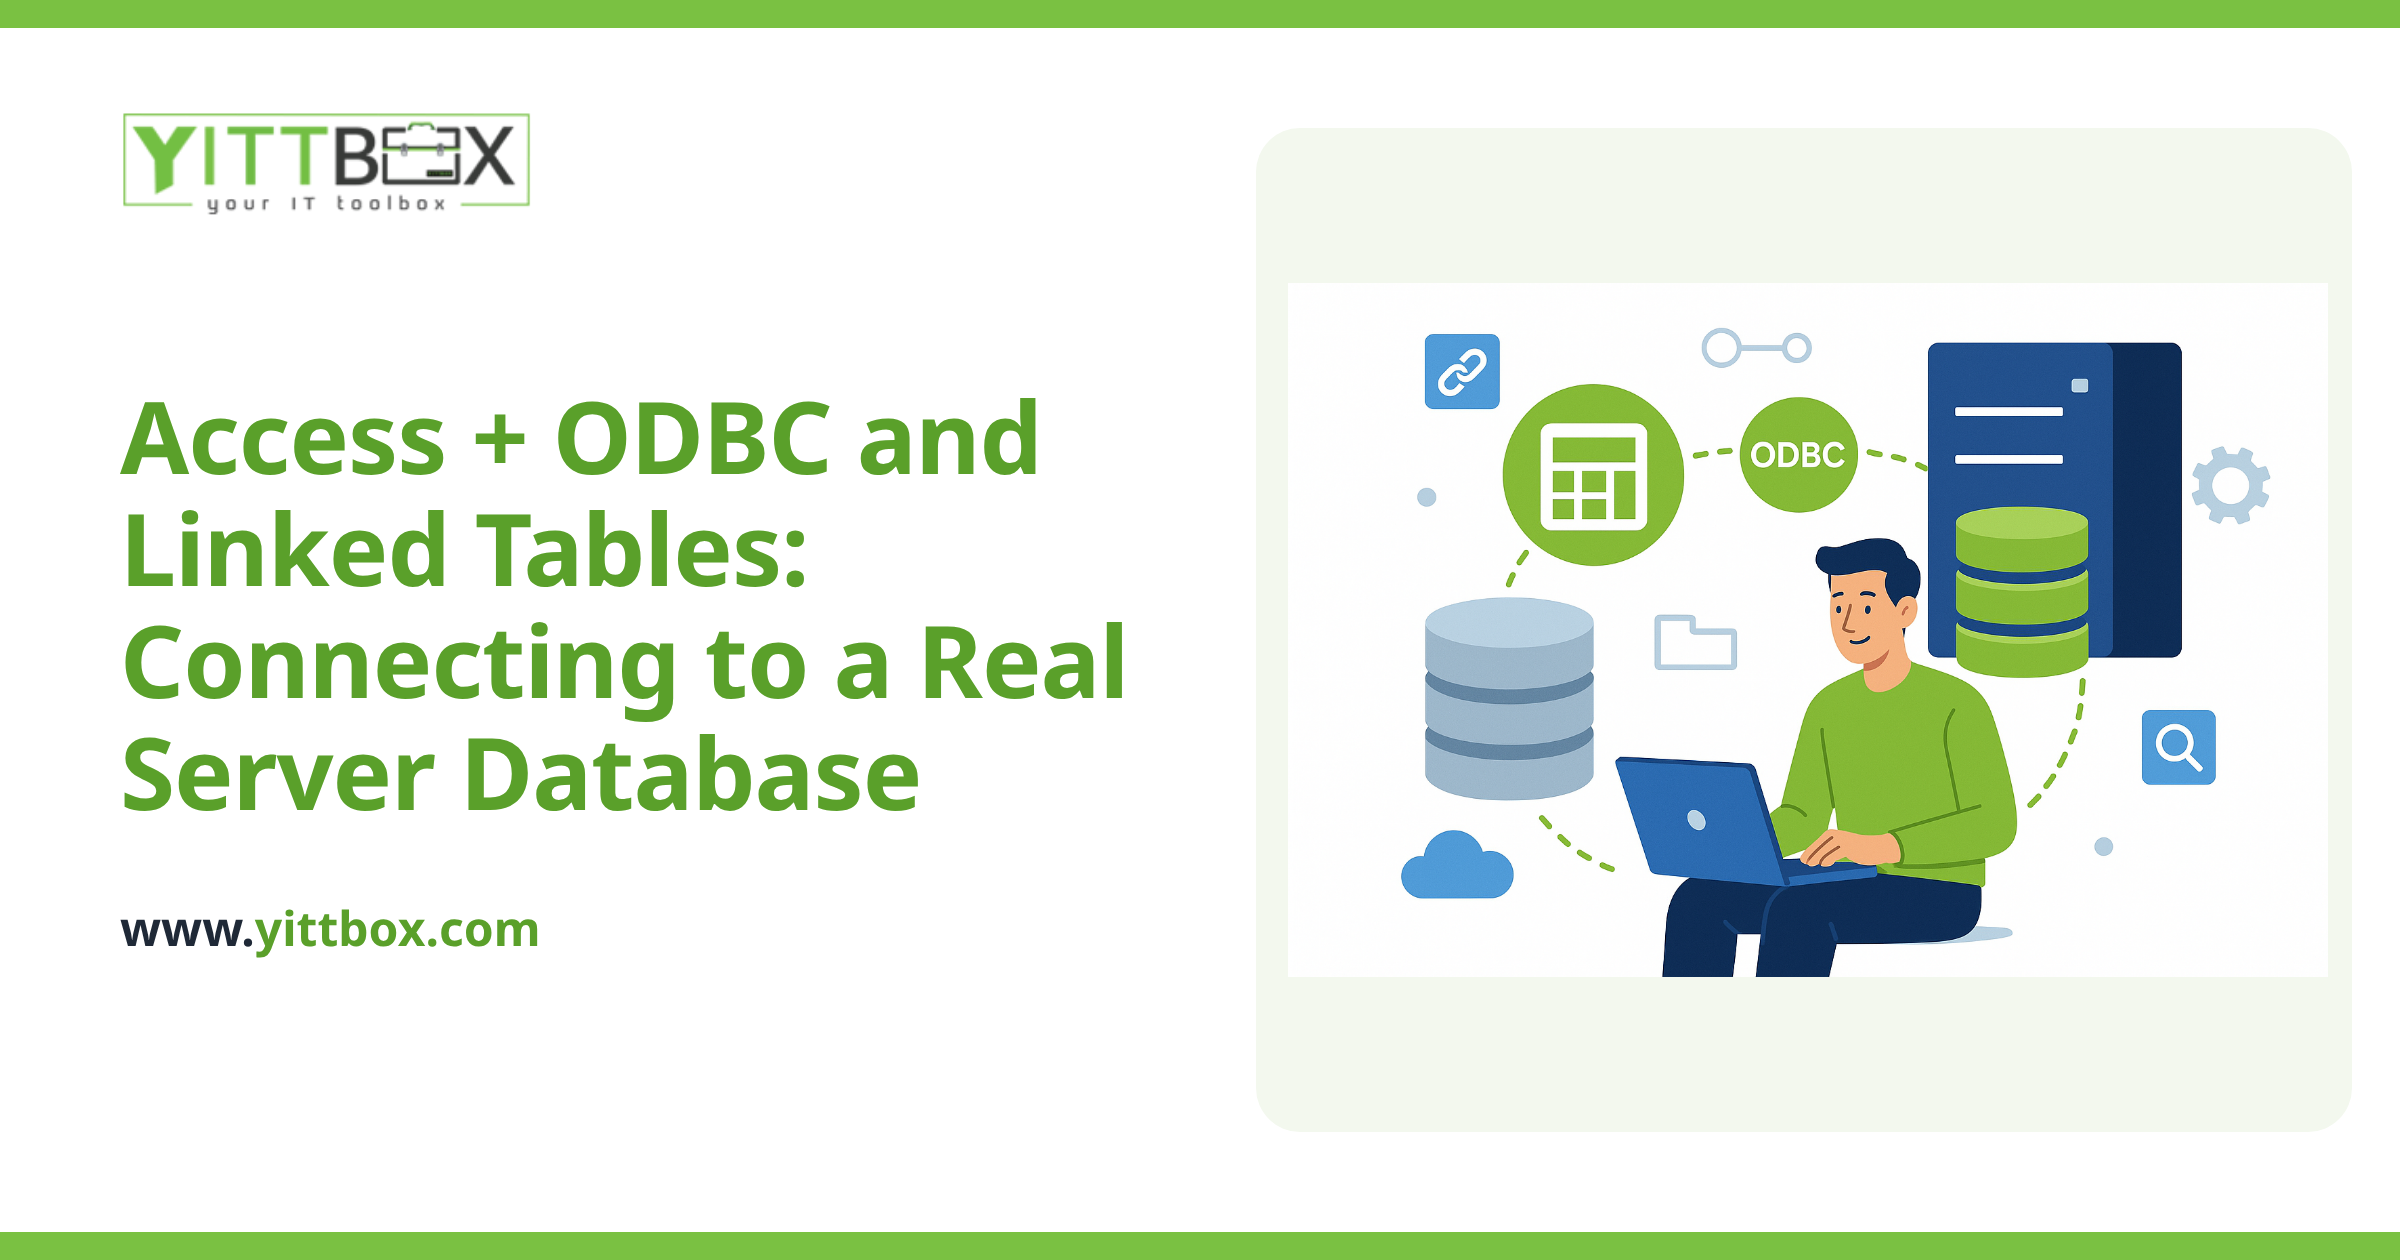
To link Access with an Excel worksheet
Create a new Access database or open an existing one, and select the External Data ribbon. Next, click New Data Source icon and select From File from the dropdown, and choose Excel. Now, the Get External Data – Excel Spreadsheet dialog box opens.
Now click the Browse button and choose the Excel file you wish to link. From the three options, choose Link to a Data Source by Creating a Linked Table and click OK. Now you’ll see a sample of your worksheet you linked to, and it’ll include all the columns and rows the source file contains. Ensure the First Row Contains Column Headings is ticked and click Next. Follow the same procedure in case you have more than one worksheet. At last, click Finish that’ll let you see the new linked table(s) appear in the left-hand corner under Tables. Now you can start creating forms, reports, and queries on these linked tables.
To perform a datasheet sort
Open the table in Datasheet View and click the Home tab to access several tools from Sort & Filter group. Just click any filed and choose ascending or descending. You can also sort multiple fields by clicking the shift key and choosing the fields you want to add to the selection. This way, you can sort data by vendors, invoice amount, and other specific values as per the requirements. You can easily return to the original form by clicking Remove Sort. You can also use selection to filter data based on the available data.
To use the filter by form
This feature helps you build and maintain a customized database without spending too much money and time. The Filter by Form option from the advanced dropdown in the Sort & Filter group gives you a blank form that’s identical to the original form. Delete search strings from previous tasks, and choose filtering values from the control dropdown. Click Toggle Filter to see how many records match the selected filter. Click Toggle Filter again to remove the filter.
To use templates
Starting to build your desired database from scratch is a herculean and cumbersome task. Trust MS Access to help you tweak a template and help you build your database quicker and more efficiently. The backstage is the place where you can open an existing database or create a new one by searching for suitable templates. Just click on the title of the template displayed in the New Template dialog box and start using it instantly.
To customize the navigation panel
The Navigation Pane in MS Access automatically groups objects. However, it gives you the freedom to customize the panel as per your business needs. You can use this opportunity to group objects, hide certain objects, and group frequently-used objects together that save you an ample amount of time. Just right-click the Navigation Pane and choose Navigation Options. Next, add categories and groups to these categories. Drag objects from the Unassigned Objects group to your custom groups in the Navigation Pane in Access.
To attach labels to control objects on a form
Firstly, create the new label you wish to attach and give the label an appropriate name. Select the label and issue the cut command to create a new label. Now select the control with which you want to attach the label and give the paste command.
In Access 2019, you can create a label and assign a name to pick from a list of controls. Select the text box or any other control to link this label. Go to the Label Name Property list and pick the label.
To add multiple fields to the design grid
Instead of double-clicking, dragging, or choosing from the grid’s dropdown to add additional fields, you can make it simpler by clicking the Shift key and selecting the first and last fields you want to include. Now drag the entire selection to the grid. You can also hold down the Ctrl key to select noncontiguous fields and drag them to the grid. Alternatively, you can double-click the table’s title bar to select all the fields automatically and drag them to the grid whenever the need arises.
Database Management Best Practices for Access
Beyond these day-to-day tips, a few database-management habits keep an Access database fast, reliable, and easy to maintain over time:
1. Plan Your Database Structure
Before diving into database creation, plan your database structure carefully. Define tables, relationships, and field types to ensure data integrity and avoid data redundancy. A well-designed database lays the foundation for efficient data management.
2. Use Primary Keys and Indexing
Establish primary keys for each table to uniquely identify records. Indexing key fields improves data retrieval speed, ensuring quicker query execution. Proper indexing enhances overall database performance.
3. Compact and Repair Regularly
Perform regular database maintenance by compacting and repairing your database. This process optimizes file size, resolves any database corruption, and enhances performance.
4. Create Customized Forms and Reports
Design custom forms and reports tailored to your specific needs. User-friendly interfaces improve data entry and data analysis experiences, making your database more efficient and accessible.
5. Utilize Parameter Queries
Parameter queries allow users to input values at runtime, making queries more dynamic and versatile. Utilize parameter queries to perform targeted data analysis without creating multiple queries for varying criteria.
6. Optimize Query Design
Write efficient queries by following best practices for query design. Use only necessary fields, optimize joins, and avoid Cartesian products to improve query performance.
7. Compact Data for Distribution
If you need to distribute your Access database, consider compacting the data and splitting the database into a front-end (user interface) and a back-end (data storage). Compact data reduces file size, making distribution and sharing easier.
8. Automate Repetitive Tasks with Macros
Automate repetitive tasks using macros in Access. Macros enable you to create custom actions and automate processes, saving time and reducing manual effort.
9. Implement Error Handling and Validation
Implement robust error handling and data validation to maintain data integrity. Detect and handle errors gracefully to prevent database crashes and data corruption.
10. Backup Your Database Regularly
Backup your Access database regularly to safeguard your data from unexpected disasters or accidental data loss. Regular backups ensure that you can restore your database to a known good state if needed.
Comments
Be the first to comment on this post.